Arduino Macro Keypad
April 2021
GitHub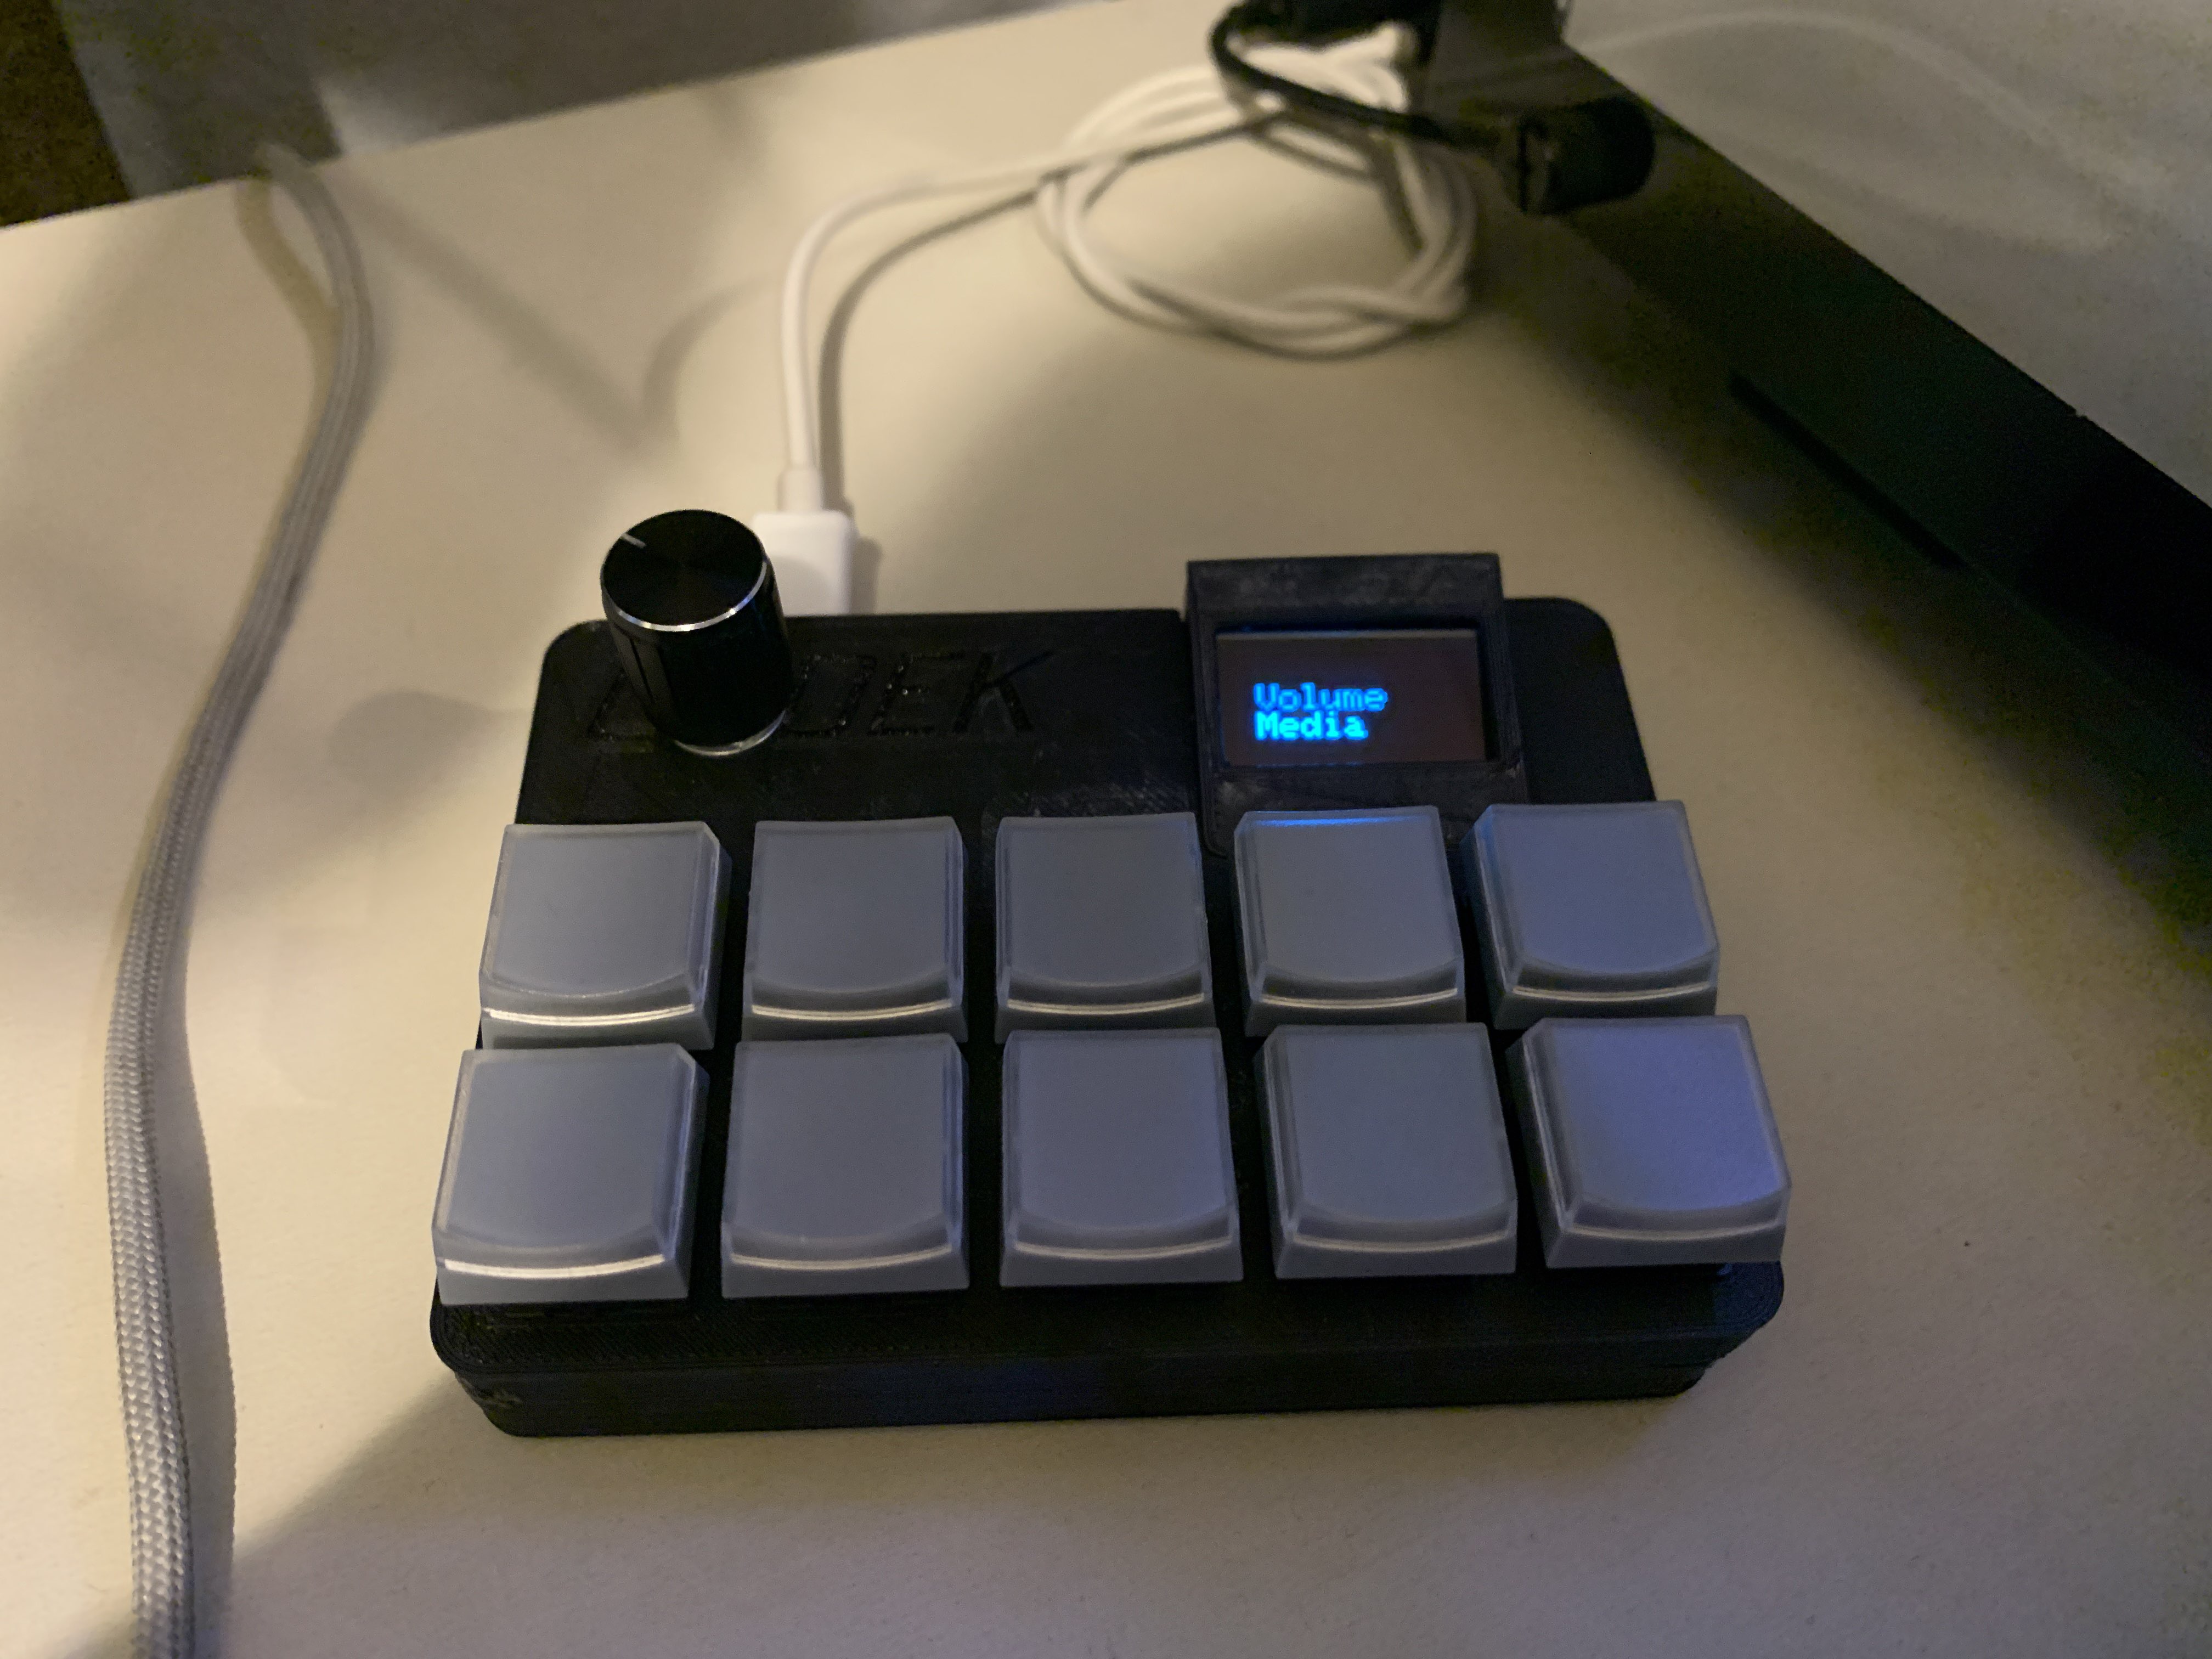
Not unlike many people, I spent a lot of time on my computer during the pandemic. The vast majority of this time was spent either on Zoom for school, or Discord to be with friends. It’s easy to recall the inconvenience of constantly switching windows, finding the mouse on screen, and clicking the button to unmute just to say a few words. I was inspired by the Elgato Steam Deck to make a small board with dedicated buttons for audio, video, and media control.
I knew I wanted to use a microcontroller based on the ATmega32U4 which has native USB support. I had an Arduino Pro Micro on hand which uses this chip, so I got to work testing with the interface.
My first prototype used a 4x4 keypad that I had from a starter Arduino kit. It had the row & column wiring I was looking to test – used 8 shared connections for the 4 rows and 4 columns, compared to using 16 wires for each button, plus the common connection. The keypad had 10 digits, two special characters, and 4 letters on the side. Originally, I only had a use for a few of the 10 digits in Discord, but seeing the A, B, C and D letters on the side gave me the idea to include multiple “modes”.
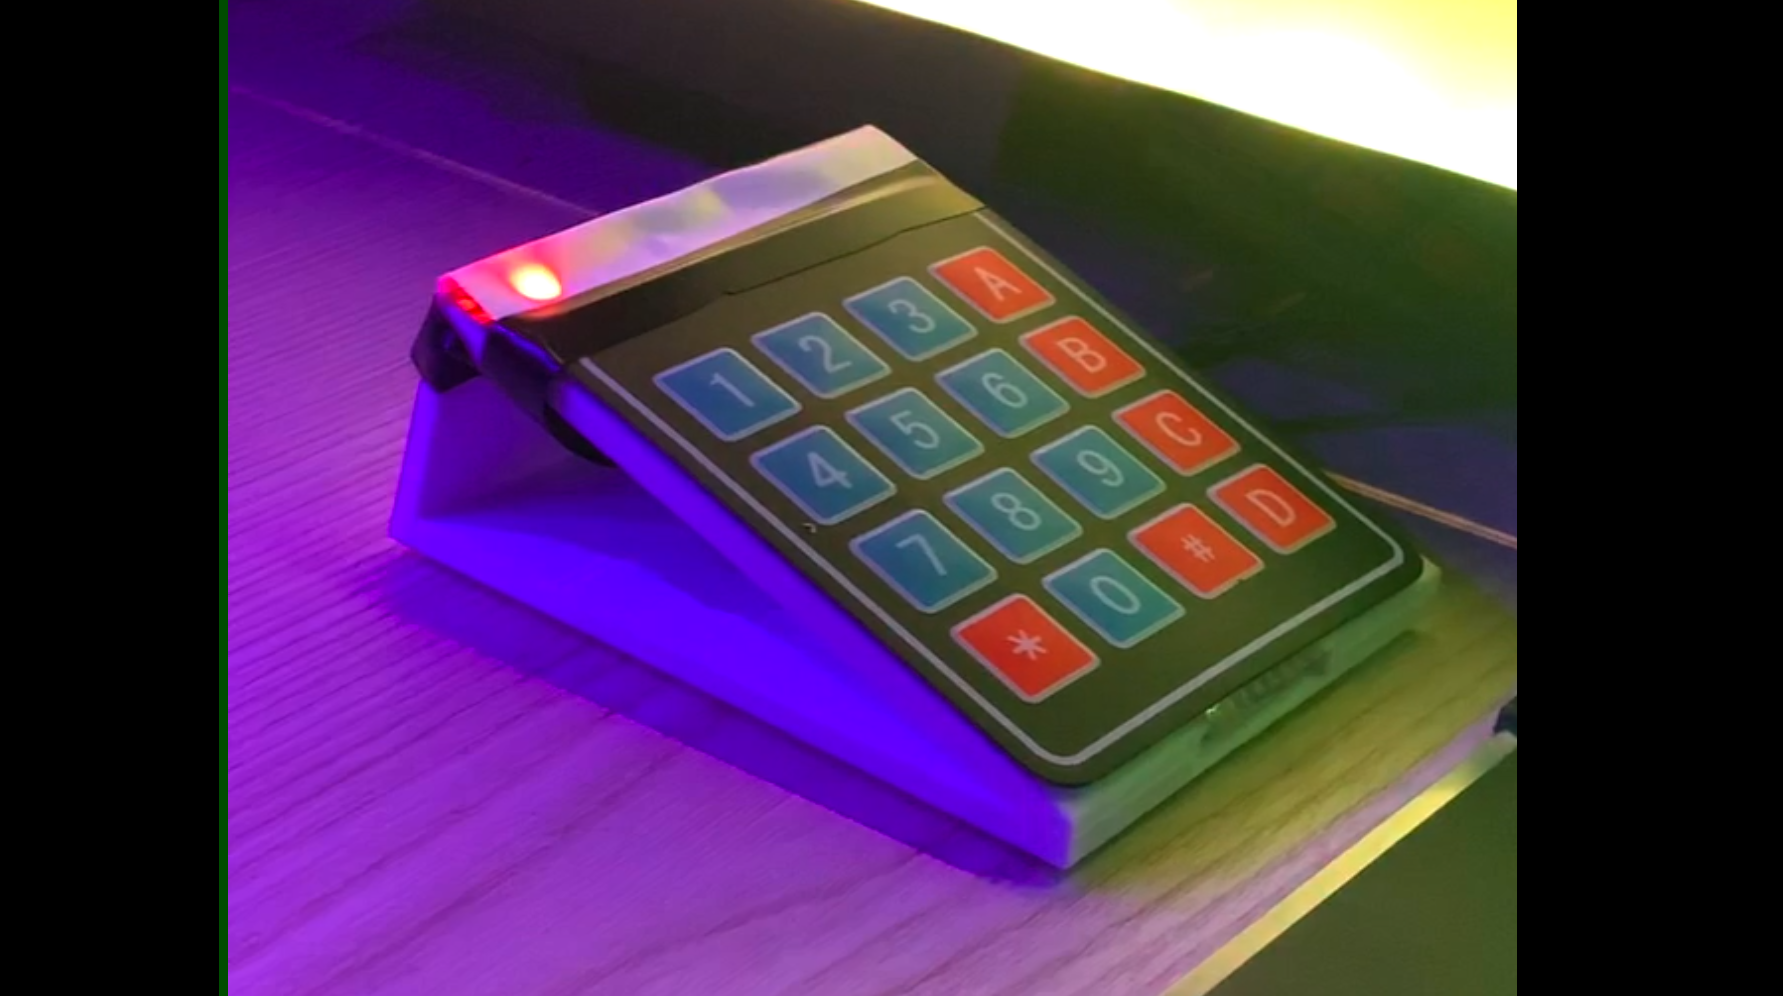
I was really happy with the practicality of a macro board, but I didn’t like how the keypad felt. I used double sided foam sticky tape to attach it to the 3D printed base, and combined with the membrane keys made for a very squishy button. It was hard to tell when the button was even fully depressed.
It desperately needed a physical makeover.
Some of my friends became mechanical keyboard enthusiasts over the pandemic, so I was inspired to use mechanical keys for the new buttons. I also loved the look of low profile keycaps so the whole board maintained a short profile – similar to the Steam Deck. While I liked the minimalism of the 4 LEDs to indicate the current mode, it was impossible to tell what the keys would do if I forgot the color code. I saw an ad for a keyboard that had a 64x128 oled display that would show different statuses, and I immediately knew it was the solution.
While the new parts came in the mail, I worked on the new firmware. While the old one did work, it was very difficult to expand upon. A complete overhaul was due, and I finished just as the new parts came. I browsed Thingiverse for an enclosure for 10 buttons and an oled display, and found one that was almost exactly what I was looking for.
The new firmware went hand-in-hand with using an encoder for better control, but the enclosure didn’t have space for it. A quick edit in Fusion 360 left me with the exact enclosure I had envisioned.
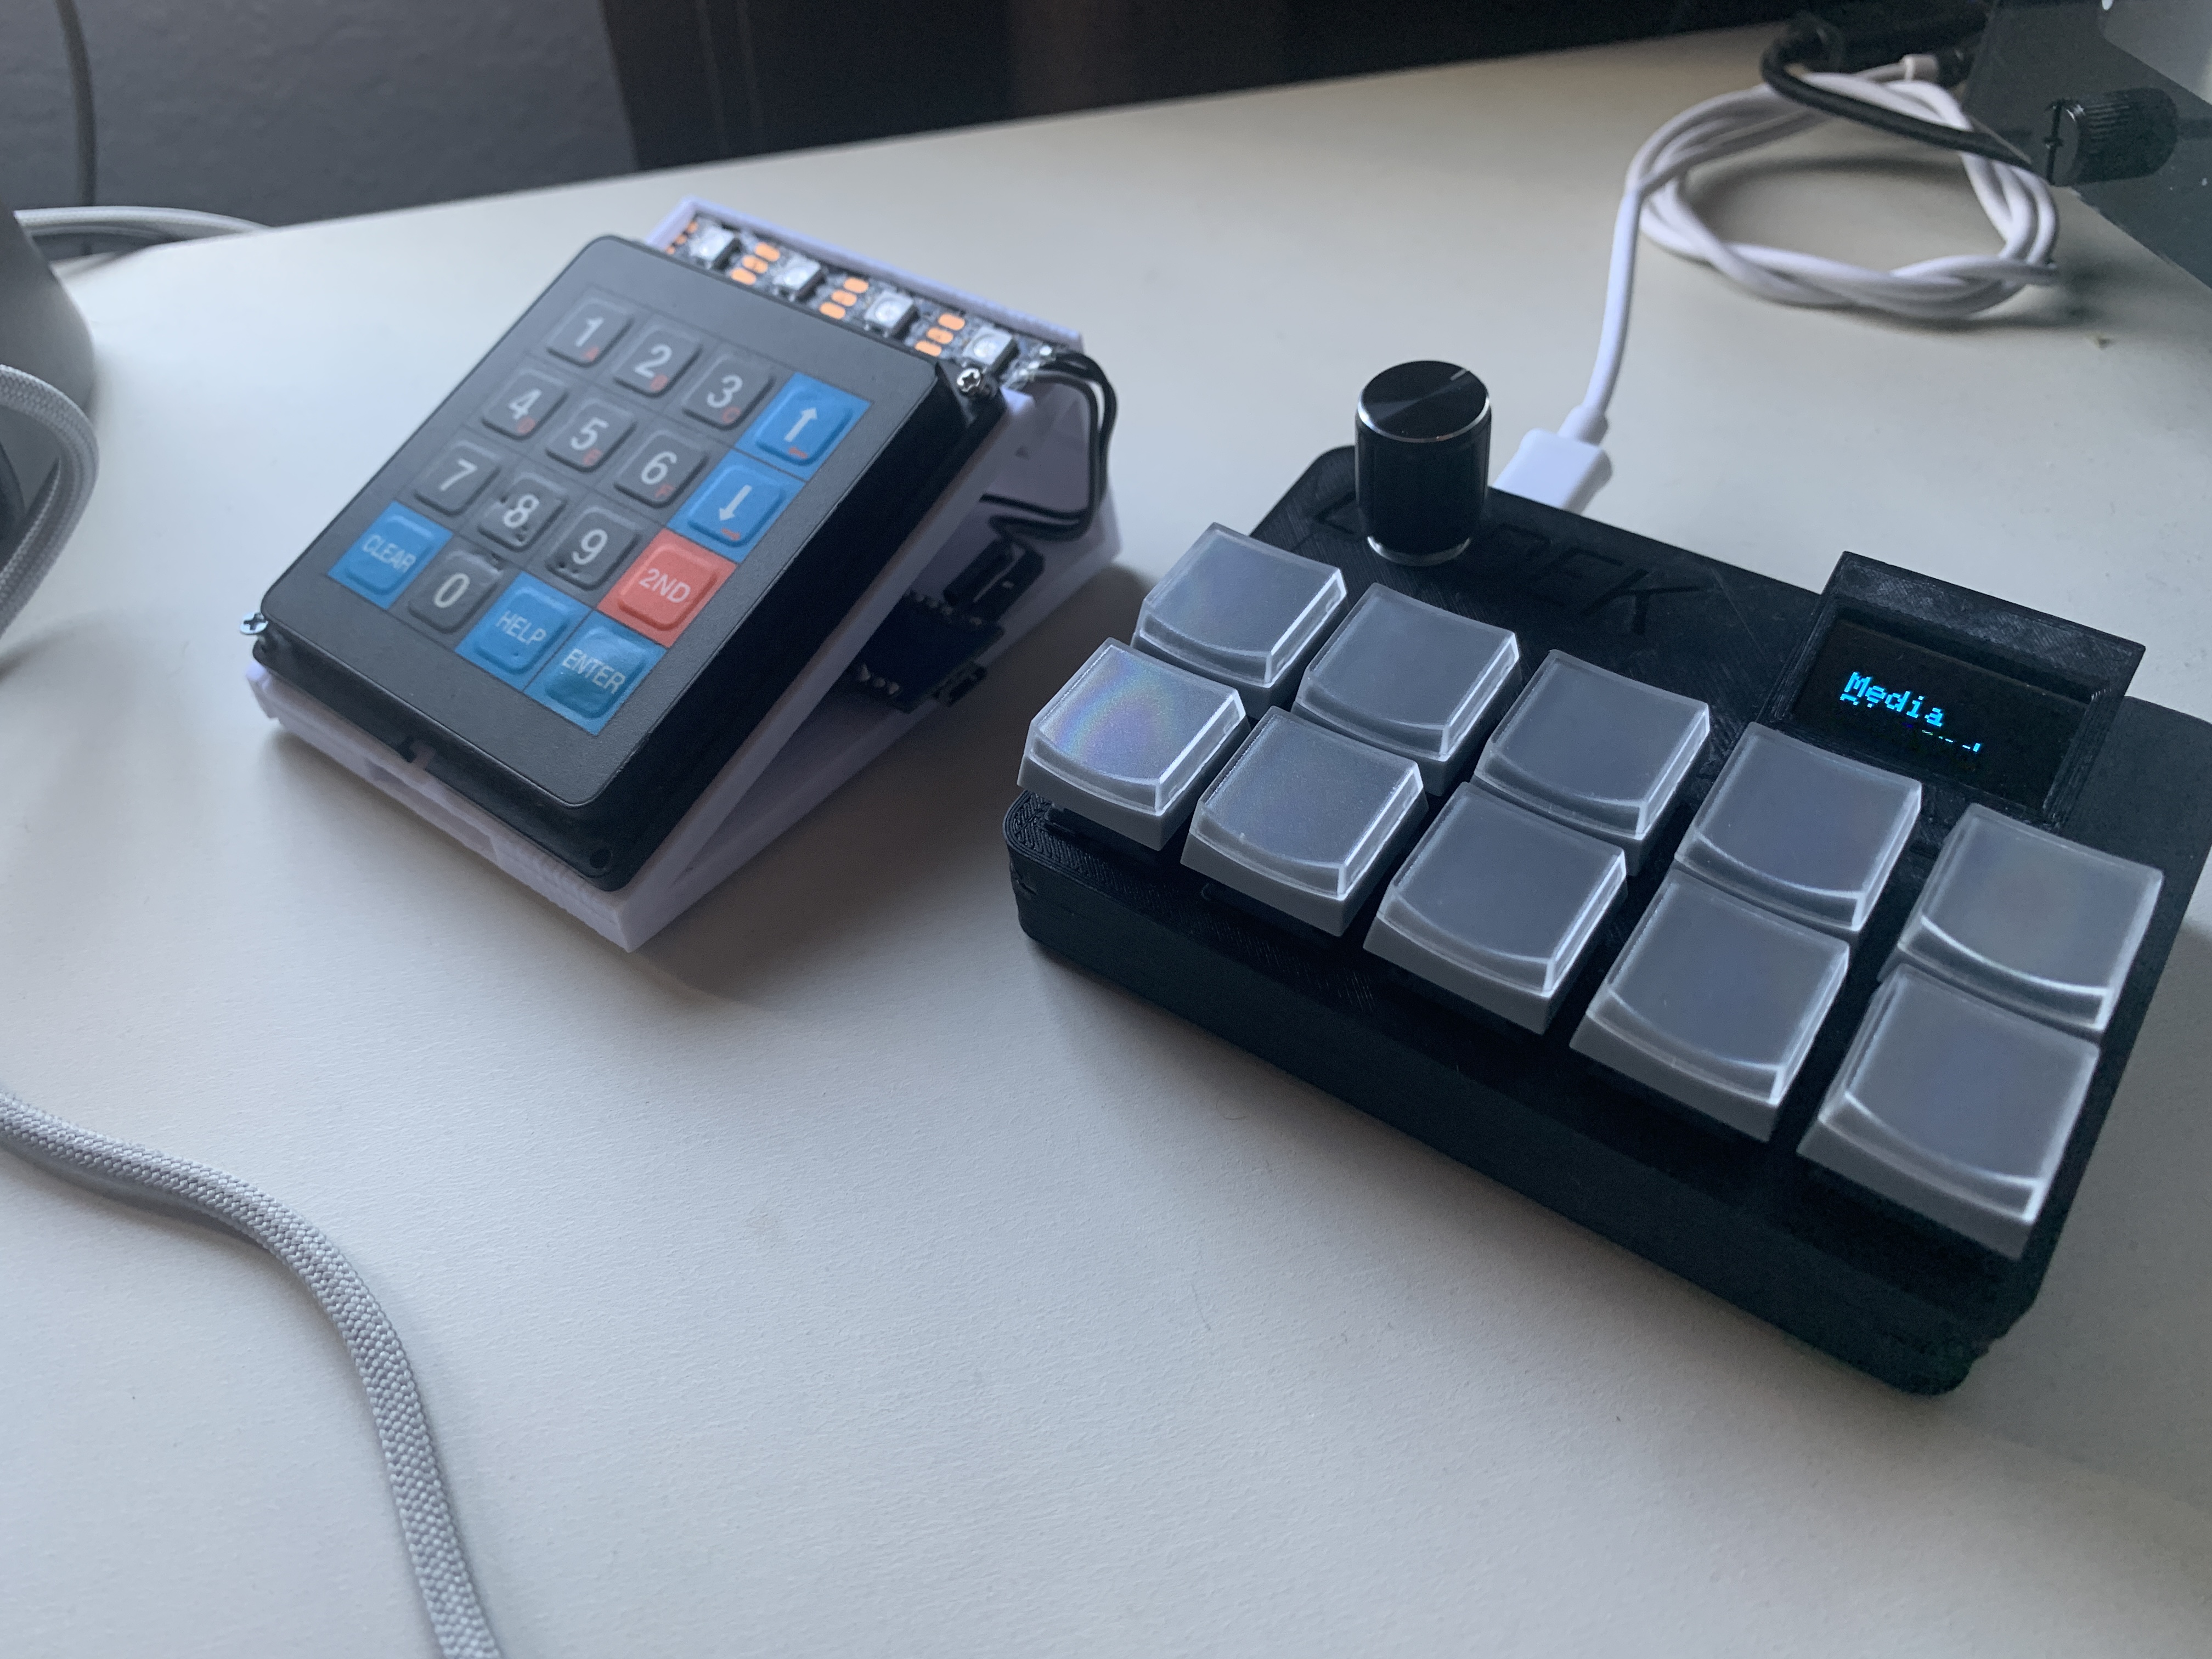
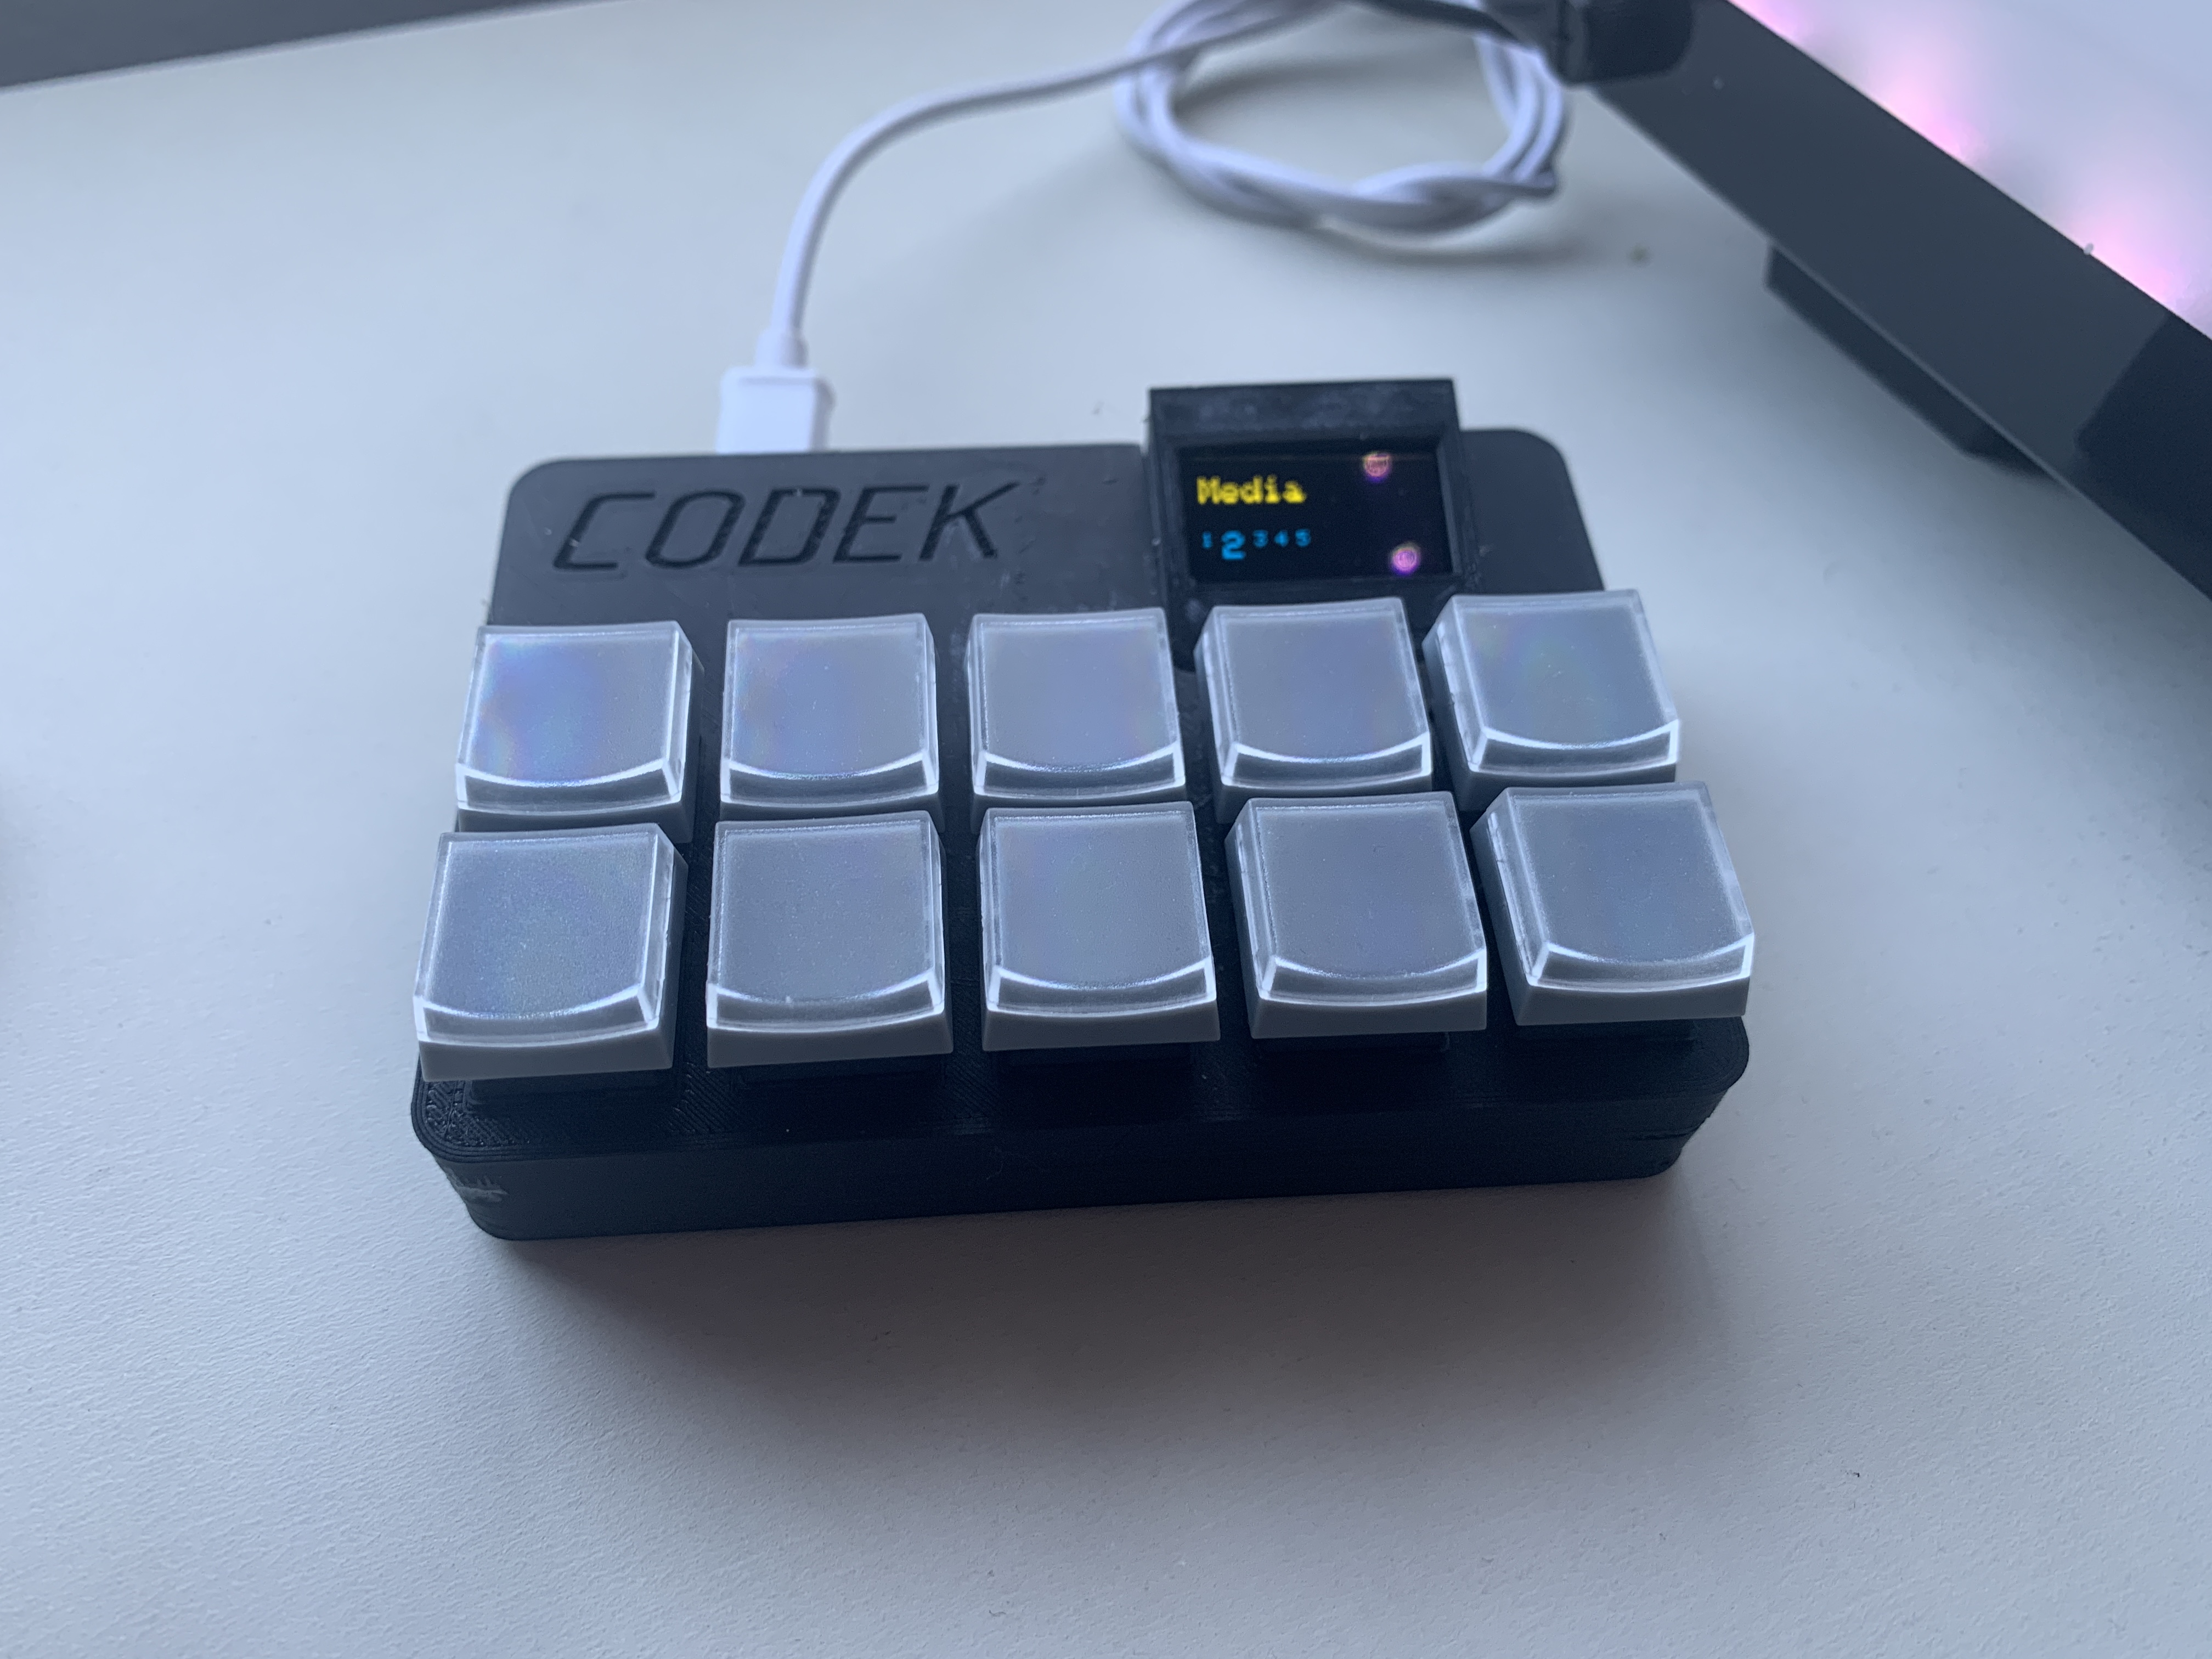
The refreshed macro keypad was infinitely more times better than the last one. Solid construction, satisfying keys, and a nice interface that was easy to use and view. I programmed presets for Discord, OBS Studio, Visual Studio Code (for Platform IO shortcuts), and general playback/volume control.
I’m extremely happy with how this project turned out. I’ve used the keypad so much and it has absolutely done so much to streamline my digital workflow.